Planewalker's super-scuffed tutorial on how to mod YOUR waifu/husbando into Elin!
So I mostly thought to make this page because I've shared a few screenshots of my Elin gameplay on 4chan and a few other places. People noticed I modded in my character, Leo, and asked about it. While there are some useful resources for modding Elin, there wasn't really an extensive guide on making custom characters. I mostly found out how to make my own through reverse engineering pre-existing character mods and whatever information a bit of Google Fu could get me. So I thought I'd write a (hopefully) helpful guide on how to mod YOUR chatbot of choice into Elona's prequel.
So I guess as a bit of a disclaimer: most of this does come from me teaching myself. I am, admittedly, kind of a retard! But it was relatively easy to do once I knew what I was doing. So hopefully I'm not missing anything here! If I did, feel free to email me at karakuriburst@proton.me!
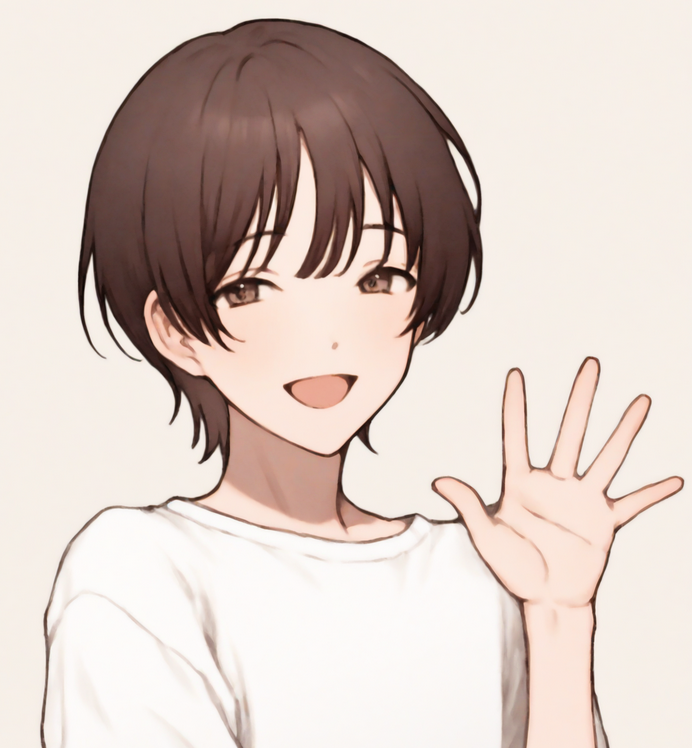
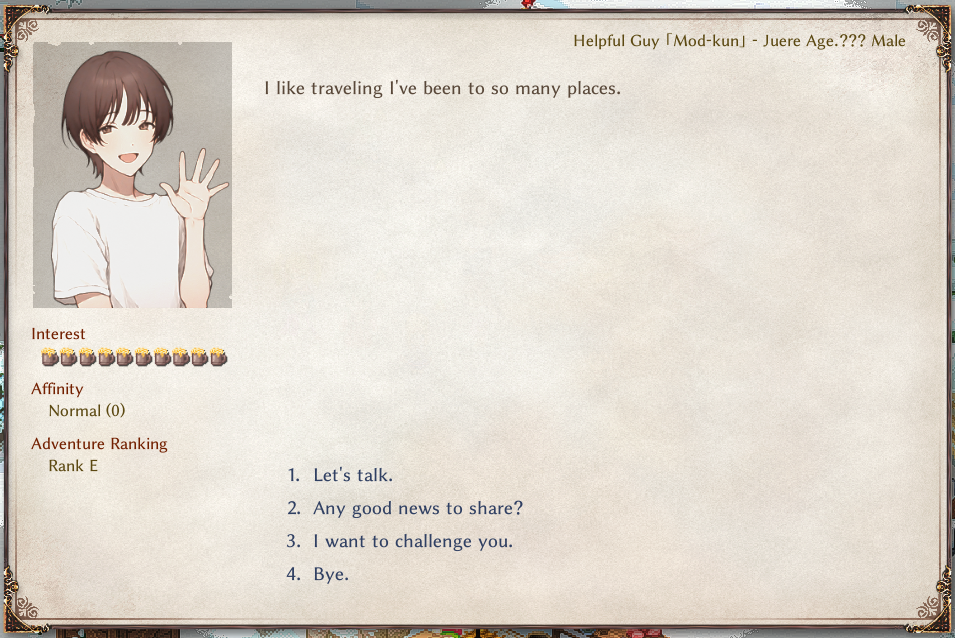
For the sake of this tutorial, we'll be using a placeholder character for our examples. Say hello to our visitors, Mod-kun!
WHAT YOU'RE GONNA NEED:
1. The Custom Whatever Loader mod for whichever build of the game you're using, nightly or stable.
2. The Mod Help mod.
4. The will to draw your own art assets or the means to imagegen them. I use PixAI.
5. This repository made by Noa, Elin's developer.
6. An Adventurer Sourcecard .xlsx file. Finding a blank one of these sumbitches is hard, so I took one from a pre-existing mod and cleaned it out for easy use here!
7. Ylvapedia open in another tab, for any extra wiki info like spell types.
(OPTIONAL) Some sort of image editing software to remove any backgrounds in your gens, so you can make transparent spirtes.
(OPTIONAL) The Party Talk mod, mostly if you want your character to make more quips and comments. It also has a machine translated English version. Mostly just to translate dialogue for the default four characters. You will need the original version if you want to add dialogue of your character!
ALRIGHT, LET'S GET STARTED WITH A SIMPLE PROFILE IMAGE AND A SPRITE.
A lot of this guide is gonna be me explaining things under the expectation that you're going into this about as clueless as I was. However, if you're on my Neocities, I do expect you to have some degree of knowledge about imagegen. If you don't, there are plenty of guides out there for it. But you wanna start off with a picture of your character. Drawn, genned, taken from Danbooru, doesn't matter. This is what you're going to be looking at whenever you wanna peep their stats or just talk to them in-game. You can use any style you want, but if you're like me and would like something close to the in-game artstyle? There are LORAs available on both PixAI and Civitai. You also want to make some sort of full-body sprite so they actually show up on maps. This also needs to be transparent with a resolution of 100x100.
Remove the background via your editing software of choice (I personally use SAI), or some website that does the same for you. Then you wanna re-size it, because Elin only accepts character portraits that are 240x320. Once you do that, you wanna save it under the name UN_(your character name here). The UN_ is to ensure that you ensure you don't run into some random joe shmoe NPC wearing your character's face! An important note is that all instances of your character's name used here are case sensitive! So make sure every instance of their name is spelled the same, caps and all. The sole exception to this is their "name" field in their adventurer sourcecard, which we'll get to in a bit. For example, here's what I have Mod-kun's portrait and sprite saved as:

So going forward, every instance I use Mod-kun's name in the files should be used just like that. Set the image aside for now, we'll come back to it when it's time to put everything together. For now, we move on to the next step of setup.
MAKING THE ACTUAL CHARACTER
This is the part where you actually need to use Excel. The link I provided above should allow you to use the web version for free. Just take that there Adventure Sourcecard I gave you, unzip it, and load that sucker into Excel. Don't change the file's name, it's gonna need to stay like that for your budding mod to work! For now we have a bunch of fields to fill in. I'll explain what each of the important ones do in batches. If you see catagories that aren't mentioned here, then they simply aren't used for custom adventurers!
- id is pretty simple, it's what your character shows up as in the game's data. It's important to note that this value can NOT have any spaces in it! Make it something simple and that you can remember. Maybe your character's first name or something like that.
- _id is another big important one, because the underscore separates it from the things I just talked about. This is your character's ID number, to ensure it's a unique entity. What you want to do here is think of a digit number, then consult Noa's repository that I linked above. Go to SourceChara and make sure that number isn't taken! Four digit numbers are rarely if at all used, so they're a pretty safe bet.
- name_jp and name are basically the same field for different locales. It's okay to leave the JP field blank if you're not using the Japanese version of Elin. Other than that, it's self-explanatory. Your characters name, spaces allowed and everything.
- aka_jp and aka follow the same idea, but this is effectively your characters title. Y'know, those silly randomly generated things you pick when you're creating your character. But this one's entirely customizable!
So far, your sheet should look something like this:

Pretty simple, right? Onto the next batch of noteworthy fields:
- LV is Levels of Violence and- Ahahaha I'm just kidding could you fucking imagine. But it does indicate a character's "danger level". This means that, if a character is an enemy, they'll only spawn in places of this level or higher. It also effects their price if they show up at a pet merchant or a slave master. Set it as high or low as you want, but IIRC it doesn't affect the character's level.
- Chance is how likely this character is to spawn on a map, with 100 basically being guaranteed. Useful for custom characters who are put into the adventurer category!
- Hostility is another pretty self-explanitory one. A character's temperment towards you, your allies, and other NPCs. "Hostile" will have them attacking anything they can, leaving this field blank will render them utterly neutral, and "friend" will have them defend any other NPCs of the "friend" Hostility level when they're attacked.
- Tag is, admittedly, one of the less well-documented ones. It lets you add small traits like prioritizing what kinds to tiles to spawn on. The only one I know of that can be useful here is the "addAdvZone_" tag. Which allows you to set up where a character is more likely to spawn. SourceGame.xlsx's "zone" tag will help you here. The "neutral" tag also seems to be important, since I couldn't get my mod working without it.
- Trait is what they're classified as. For the sake of making a recruitable character, we want this set to AdventurerBacker
- Race is another self-explanitory one. This is the race that this character will be in the game, with all the pros and cons that comes with. To get the ID for the race you want your character to be, consult the repository. Specifically the "race" tab of SourceChara.xlsx.
- Job is your character's class! SourceChara.xlsx will also have a job tab for all the IDs you're looking for.
- Tactics affects how your character will behave in battle. By default they'll use tactics corresponding to your job, but anything placed in this field will overwrite them. The strategy page on Yvlapedia will tell you everything you need to know, and SourceChara.xlsx has a tactics page for their IDs.
- AiParam is three values in one. Prefered distance from the enemy, how likely a character is to reposition themselves to that distance every turn, and a bonus chance that they'll try to reposition a second time. They're all separated by comas and go in the order I just listed. The third one isn't used much, so it's fine to just include the first two.
By now, your character sheet should look something like this:

We're almost done with ID hunting, but for now we move on to the fun stuff! Namely, skills and spells and equipment. These will allow you to make your character as OP or underpowered as you like.
- actCombat is the column for your character's skills and spells! The element tab of SourceGame.xlsx in the repository is your friend here. Also, a neat little trick, if there's a skill you want your character to have a fixed chance of using? add a / with a number right after at the end of the ID. The higher the number, the more likely your character is to use it. Another important thing, if you're making a mage, is that you'll see the IDs in SourceGame.xlsx are only things like "bit_" and "bolt_". This is because you're supposed to put your element of choice after the underscore. So if you want to, say, have a character that casts sound ball? You'd put "ball_sound"! Ylvapedia has a helpful table as to what elements have what spells on their Spells page. All of these should be separated by comas with no spaces.
- mainElement is for the elements your character has an affinity for. Mostly useful for magic classes, but there are melee ones as well. The elements you can choose from are Fire, Cold, Lightning, Darkness, Nether, Sound, Chaos, Poison, Cut, Acid, and Impact.
- elements is where your passives go! Feats, resistances, stuff like that. Again, the element tab of SourceGame.xlsx is your friend here. Anything preceded by feat is pretty much fair game, and if you want to set a specific resistance level for an element, just add a / with a number right after.
- equip is your character's starting equipment! If left blank, the game will give them a bunch of random gear corresponding to their job or race. But you can overwrite things like that by adding specifications here! The "thing" tab of SourceCard.xlsx should have everything you need here.
So we should have something that looks like this:

Alright, last leg of ID bullshit! Let's finish polishing up our characters so we can move on to flavor things and putting it all together.
- bio is just a few basic for your character. Specifically their sex, birth year, height, and weight in that order! You format them like you would asking someone for your a/s/l. Oh, and for all the American's reading this, convert your character's height and weight into metric. That's what Elin goes off of.
- faith is which of Elin's gods your character worships! SourceGame.xlsx's "religion" tab has everything you need here.
- work and hobbies are what your character will do when left at your home. Both of these pull from the "hobby" tab of SourceChara.xlsx
- idText is the last field to fill out here. Just put your character's ID name followed by a "_text", so the game knows to pull from the dialogue tab we'll be doing next.
And with that, we're done with the basics!

Your Adventurer sourcecard has an extra tab for dialogue, most of the tabs are pretty self-explanitory. Make sure to change the Charname in "Charname_text" to your character's ID. But here you can set up different dialogues for different occasions like idle, getting into a fight, etc. You can even give them multiple lines for one catetory, just separate them with quotation marks and spaces. Something like this:

PUTTING IT ALL TOGETHER
Naturally you wanna have those other mods I told you to get installed already, so you'll know how to troubleshoot if anything comes up. And, y'know, so they'll actually load. Nice thing about modding Elin is that you don't have to publish your mod to the Steam workshop if you don't want to. But first and foremost, let's focus on getting everything packed up nice and neat!
The first thing you wanna do is make a folder labeled (Your character's id)_Mod. And inside that folder you want three more folders labeled LangMod, Portrait, and Texture. You also want to have a .png labeled "Preview". I personally just used a copy of Mod-kun's sprite. Your character's overworld sprite goes into Texture and their portrait goes in Portrait. With the LangMod folder, you want to add another folder labeled "EN" inside, and in that folder you put your shiny new Adventurer_Sourcecard.xlsx. Oh, and add a dialog folder. Don't put anything in it, but it needs to be there because of reasons.
Finally, we need to make an XML file. This is as simple as opening notepad and following a helpful tutorial made by Noa himself. Once you've gotten that written, save it as "package.xml" and put it in the main _Mod folder. The end results should look something like this:


After that, it should just be a matter of Putting it in Steam > Steamapps > Common > Elin > Package! Lets go see if Mod-kun is waiting for us in Ylva!
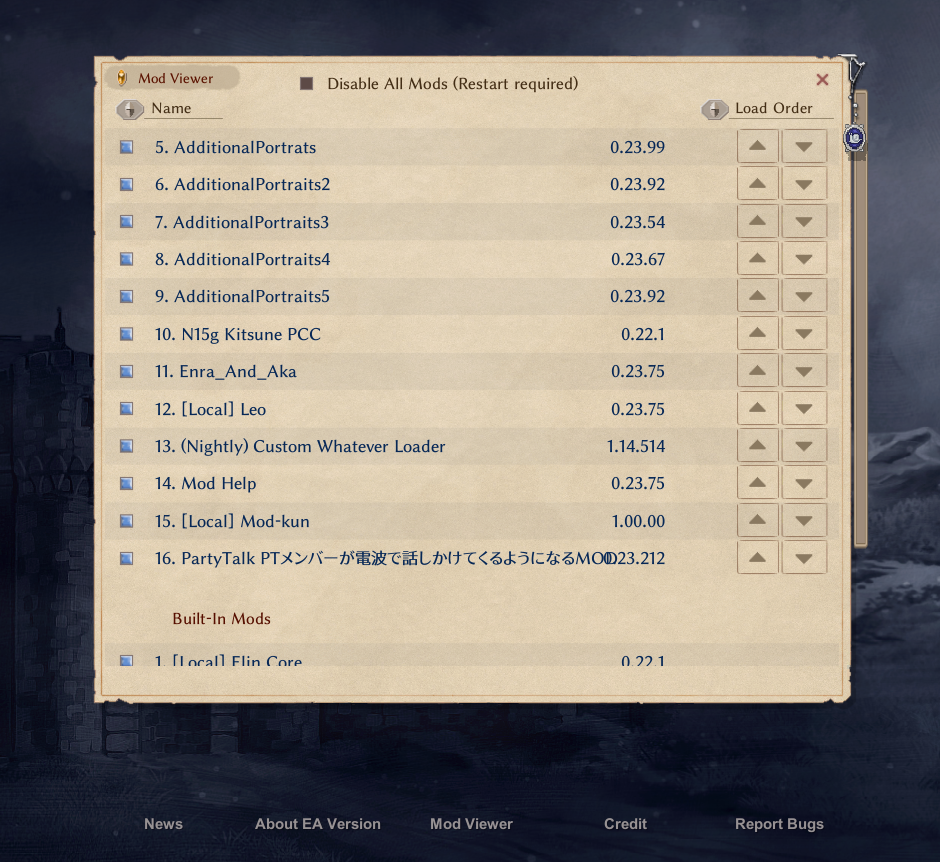
Checking the mod list on the main menu is always a good first step
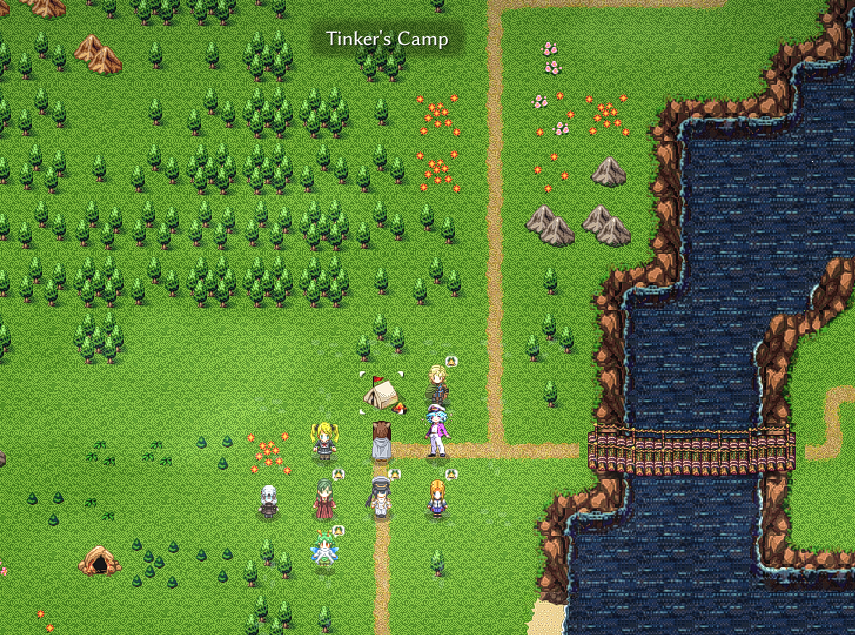
Now let's head to the Tinker Camp, since that's where we have Mod-kun set to spawn!
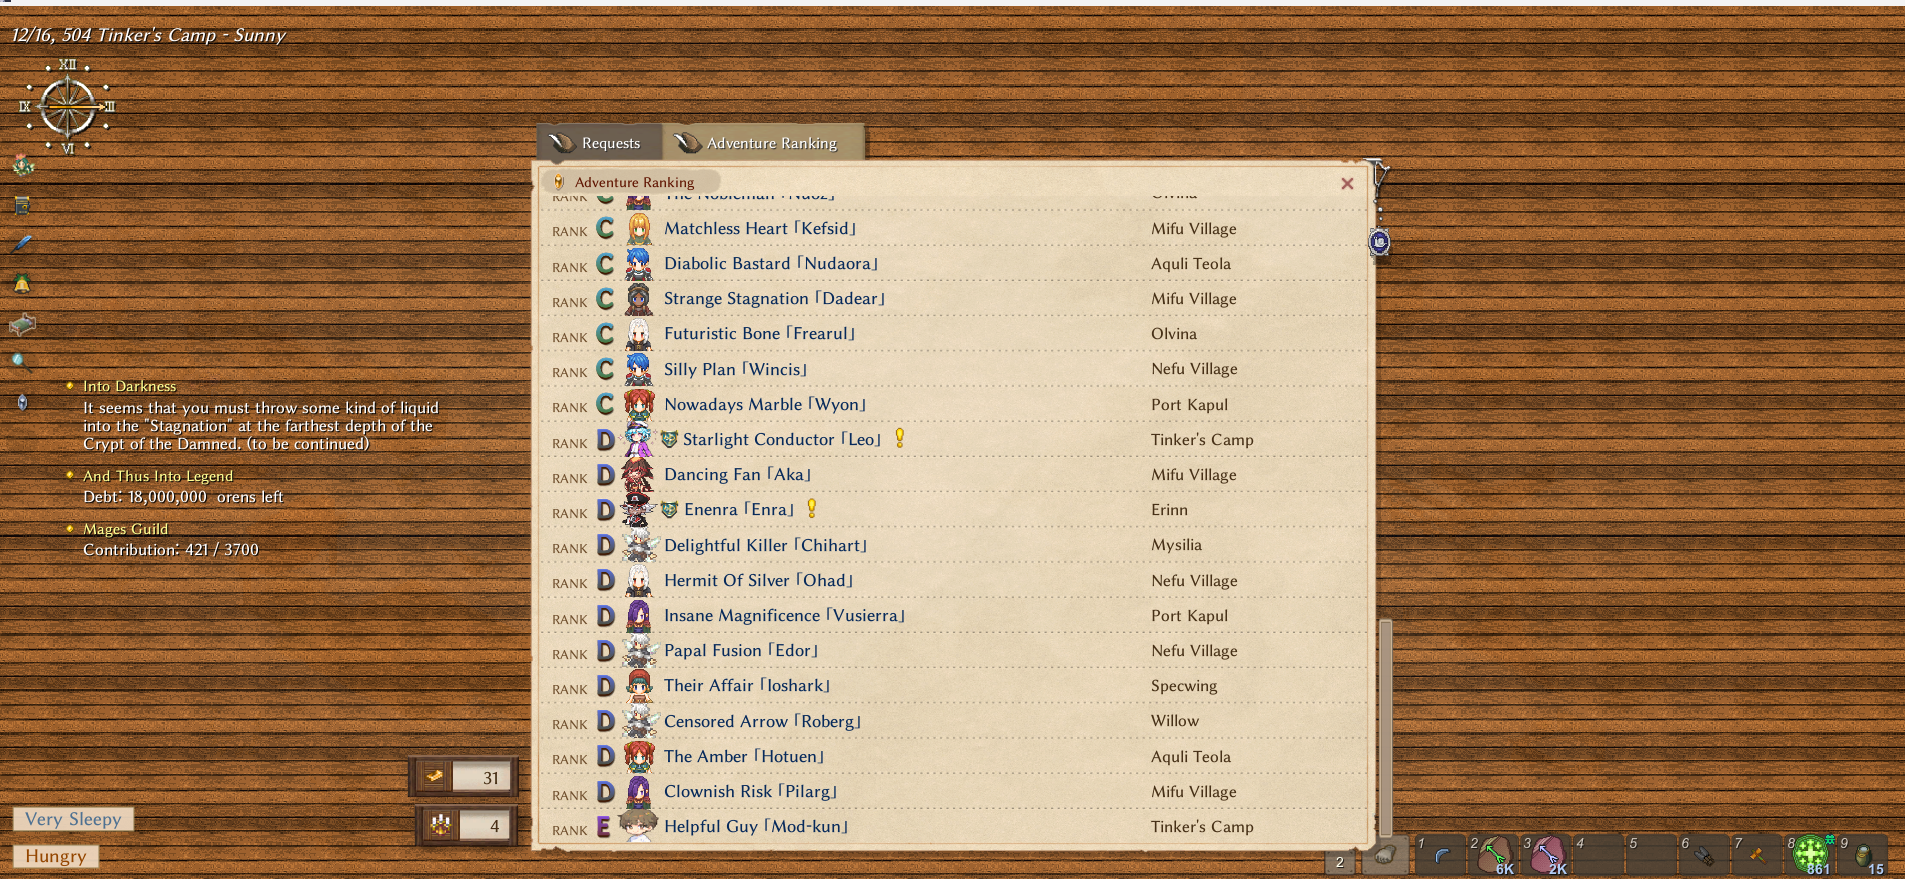
The next best way to make sure they're in the game, even if you can't find them yet, is to check the Adventurer's Listings and...yup! There he is!

After that it's just a matter of befriending him and challenging him in order to recruit him to the party! That's it for the basic tutorial, but if you want to make your shiny new character a little bit more chatty, click here to go to the party talk tutorial!